Usage
LivePose lets you run computer vision models on live video and stream the results over OSC.
Presets (recommended)
The fastest way to get going is the PRESETS view in the sidebar. It lists ready-made Pose Detector configurations grouped by category (body, hand, face, animal, box detection, tracking & re-ID), with a live preview on the right. Clicking one fills in the Run settings — model files, workflow, tracking and re-ID parameters — so you can press Start right there.
Presets are read from the model pack(s) on disk, so each pack brings its own presets and the models they need:
- Set the Models / Packs Folder at the top of the PRESETS view (a sensible
default is provided; use Browse to change it). It can point at a single
pack, the
packagesfolder holding several packs, or a library root — LivePose scans them all. - Click Get models… to open the
model-storage release,
download a pack (
onnx-models-large.7zfor everything,onnx-models.7zfor a smaller subset), and extract it into that folder. Press Rescan.
A green dot next to a preset means its models are present on disk; a grey dot (“models missing”) means that pack’s models still need downloading.
Loading a model
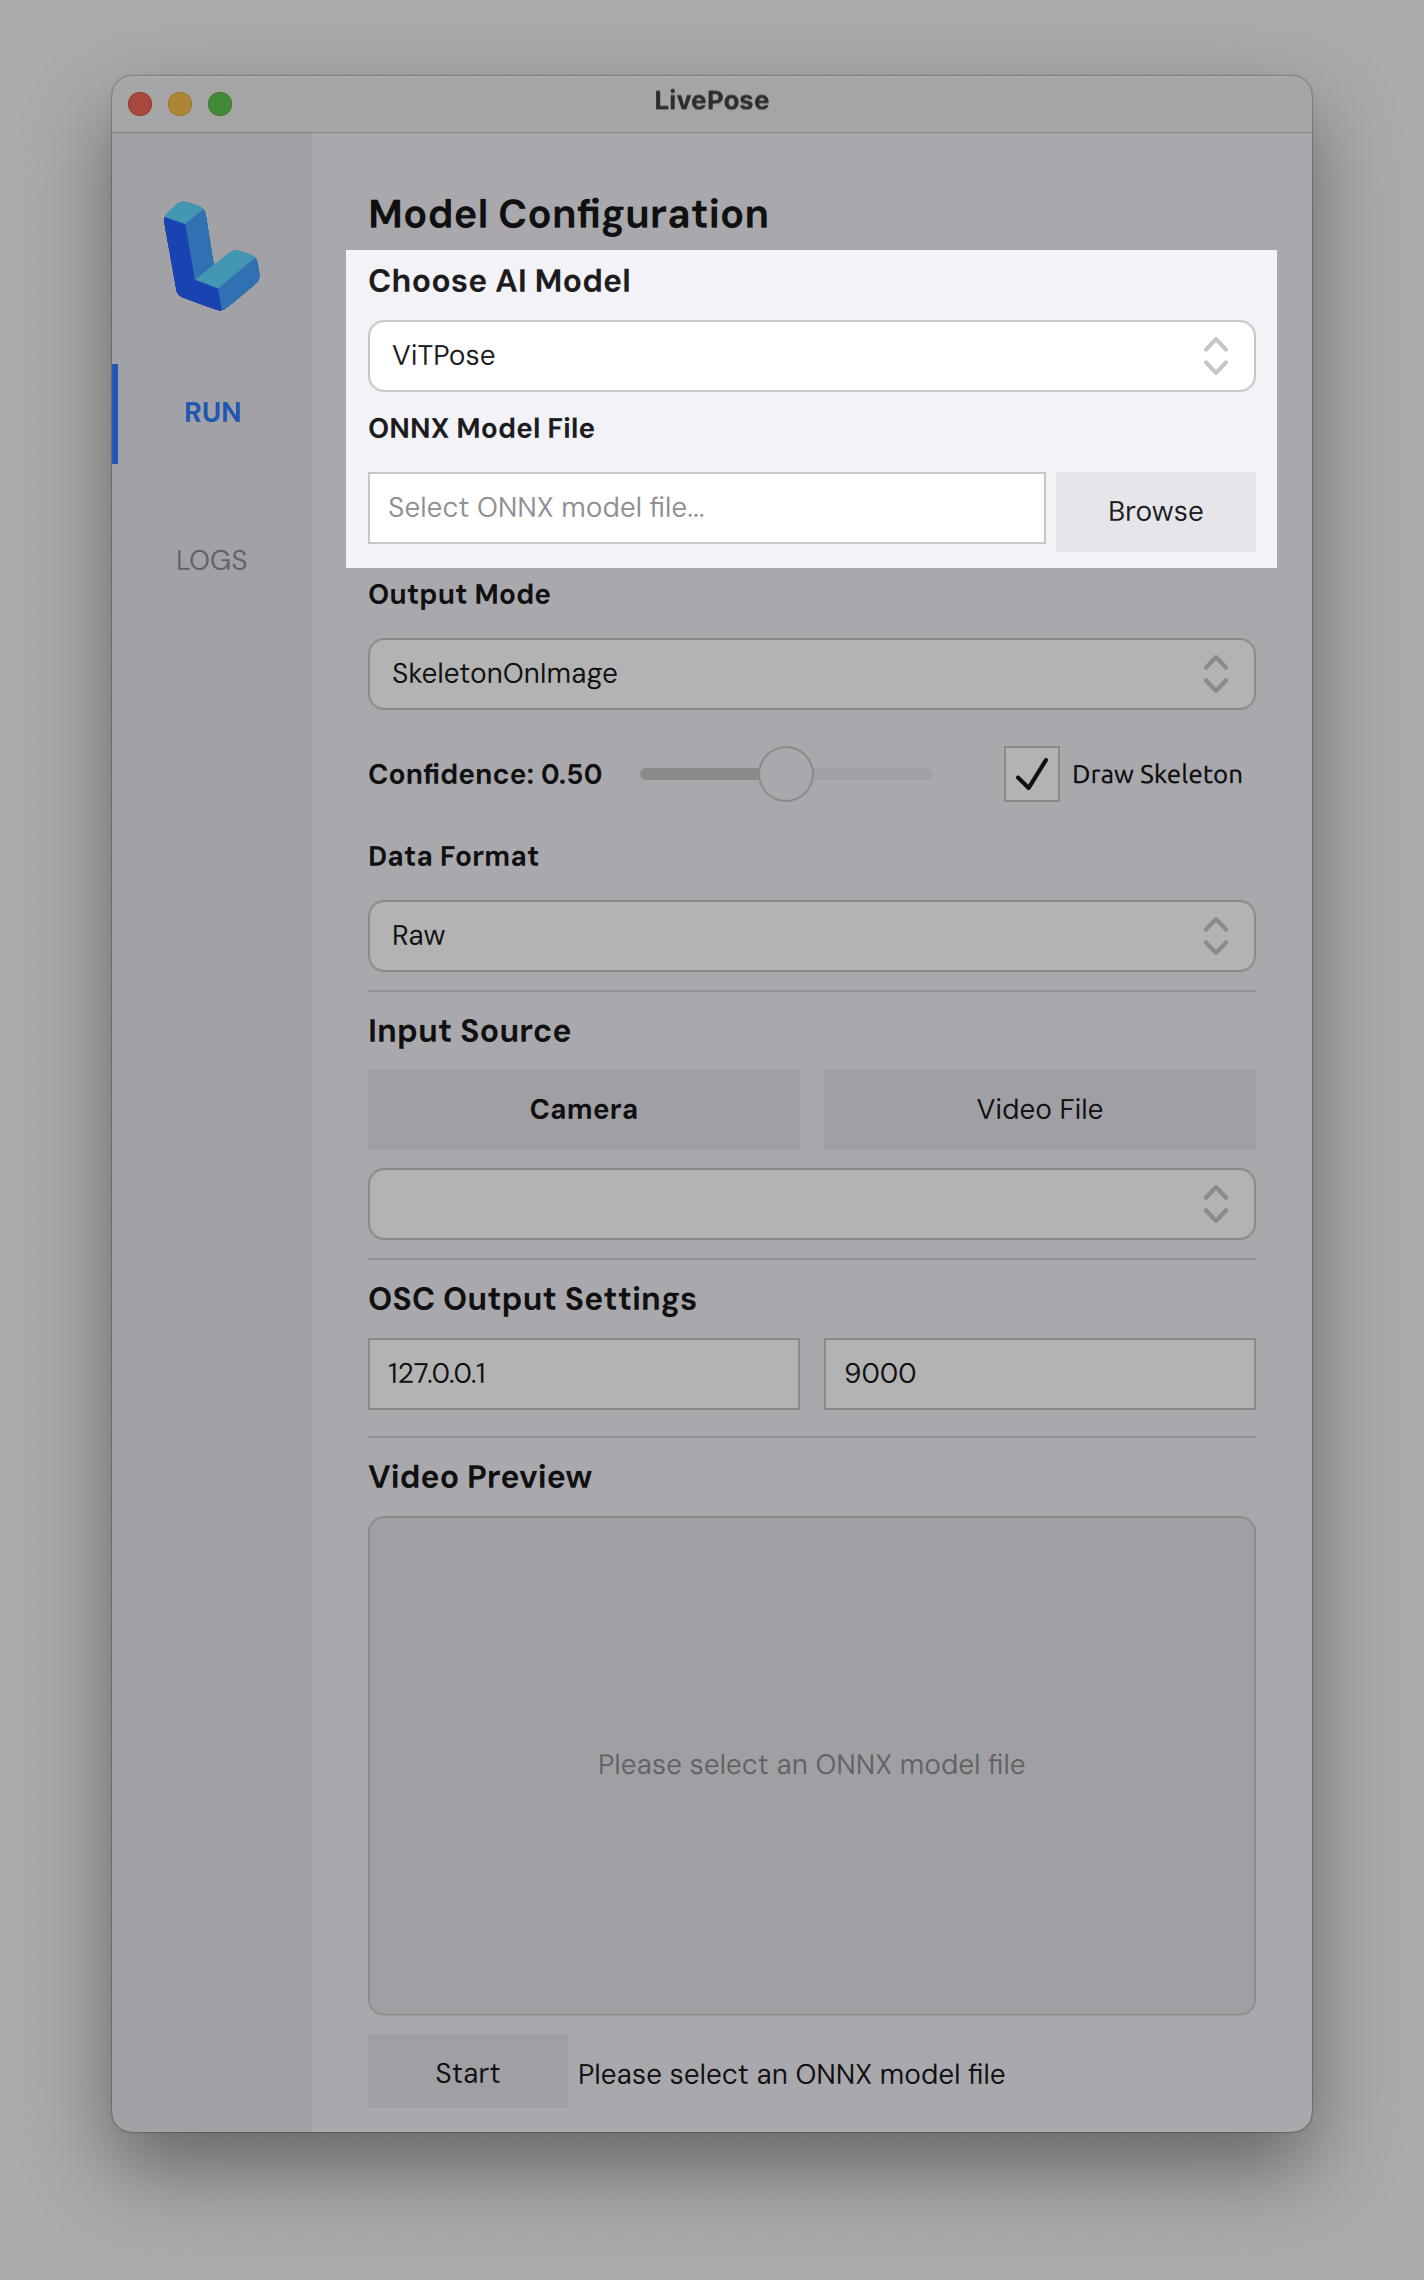
- Click Browse next to ONNX Model File and select an
.onnxfile - Models are available from the model-storage release
- Choose your AI Model (e.g. ViTPose) and Output Mode from the dropdowns
- Adjust the Confidence threshold and toggle Draw Skeleton as needed
Camera
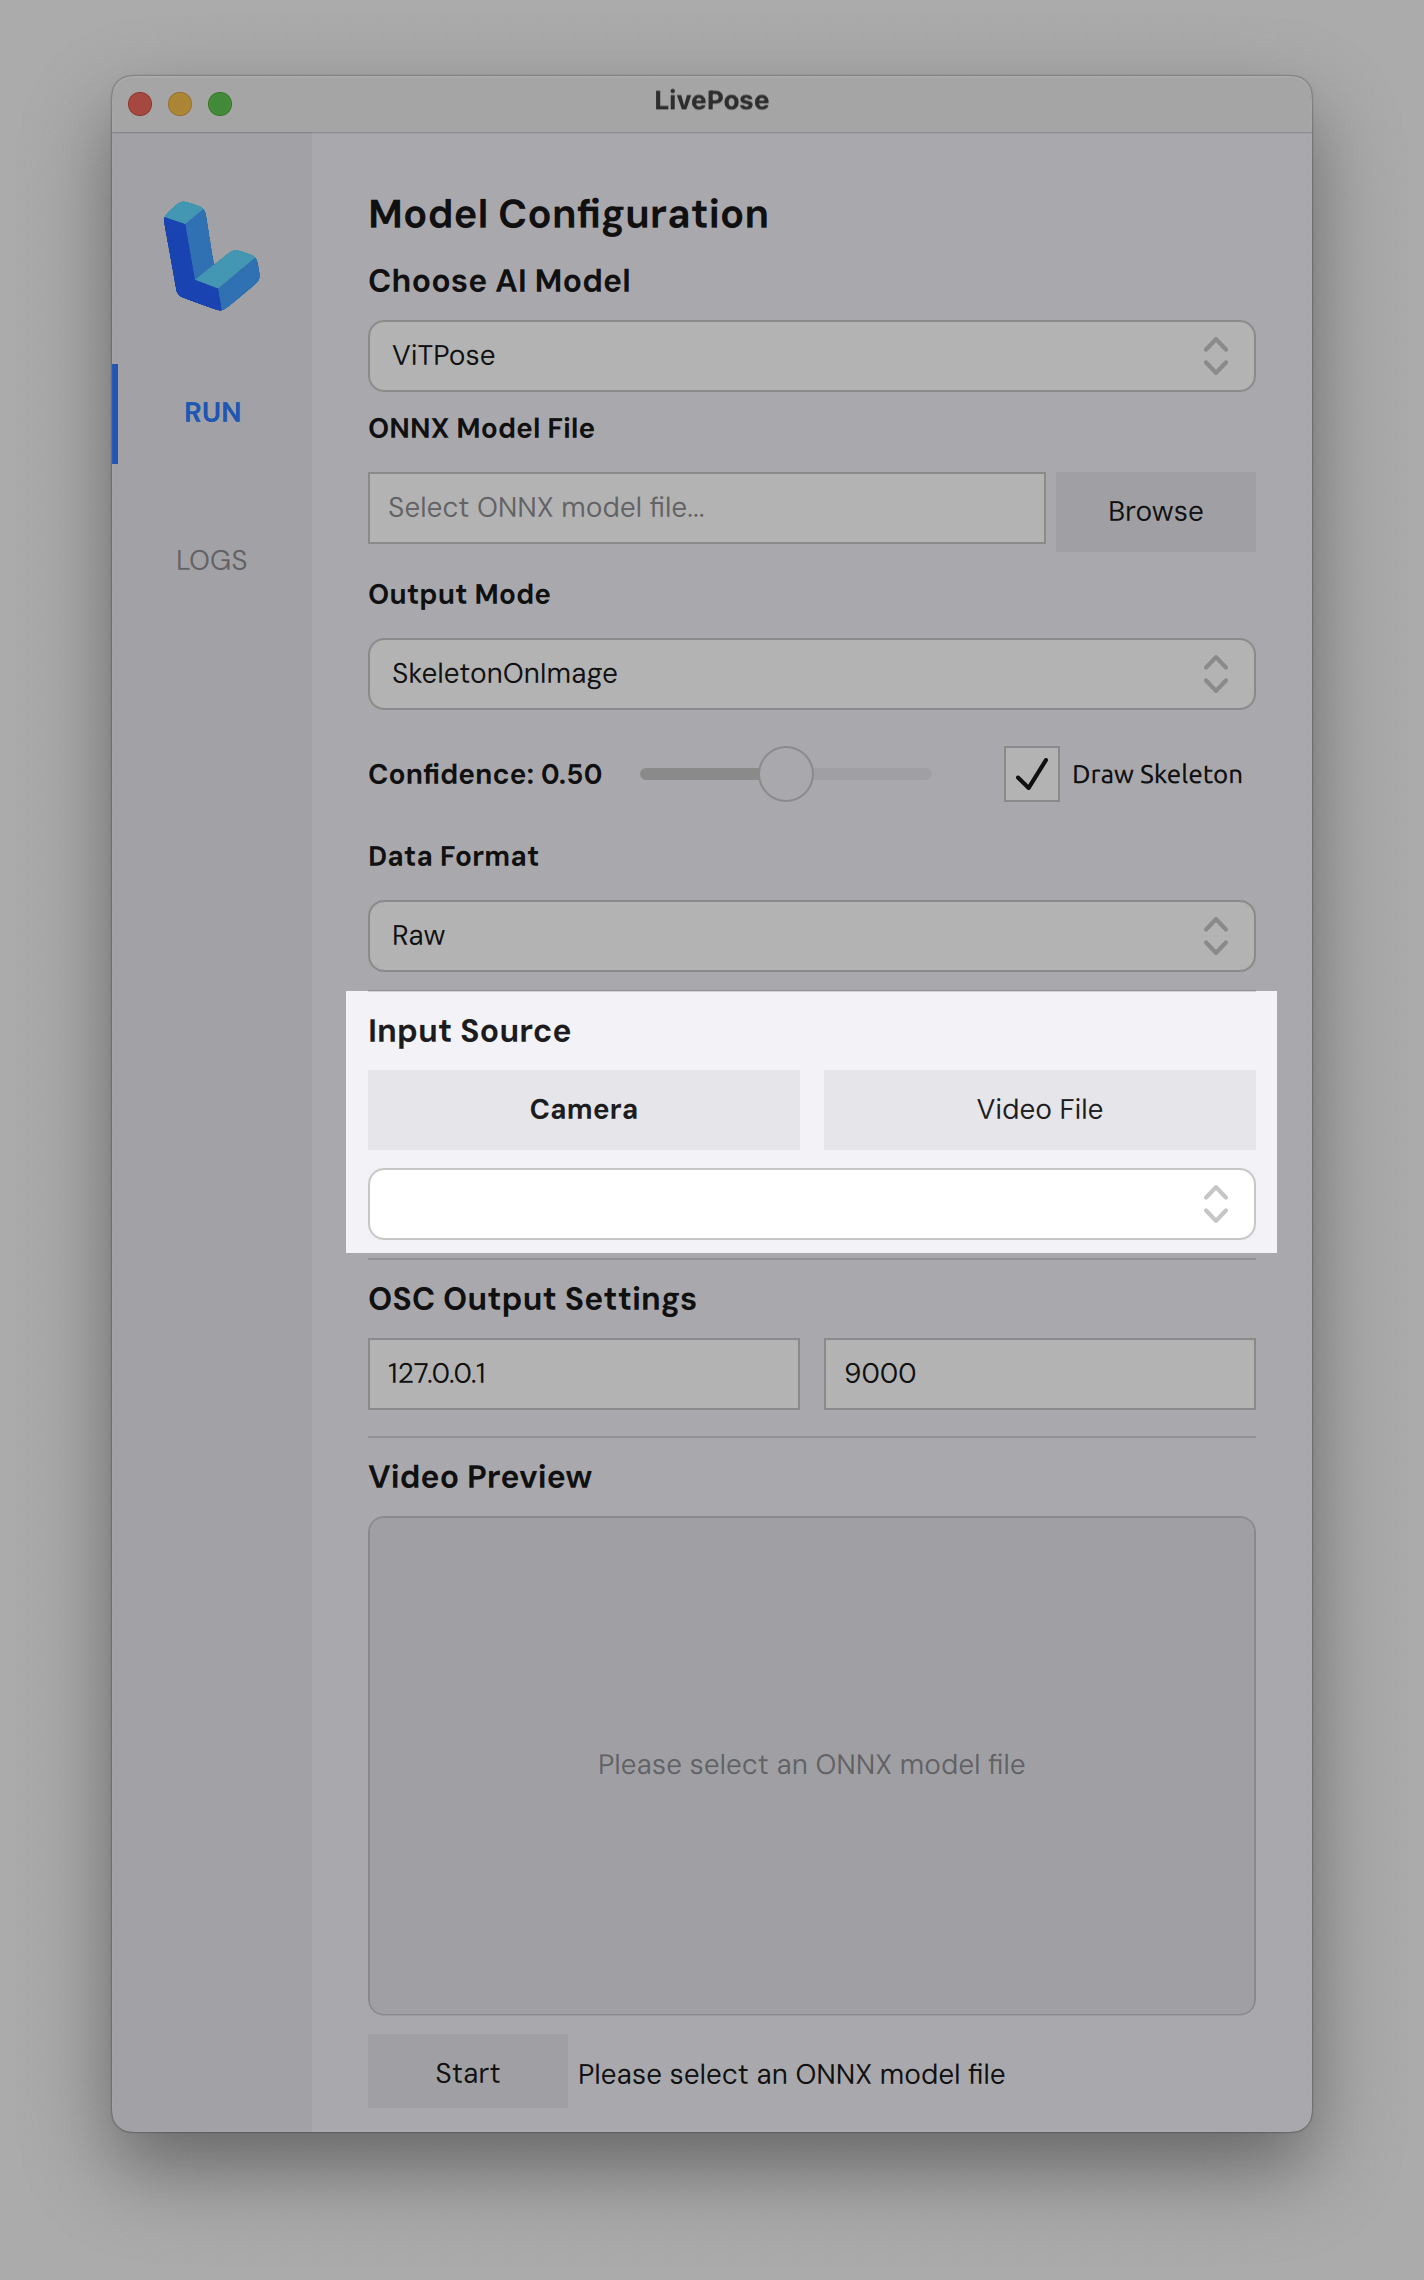
- Under Input Source, select Camera or Video File
- LivePose automatically detects connected cameras; pick yours from the dropdown
OSC output
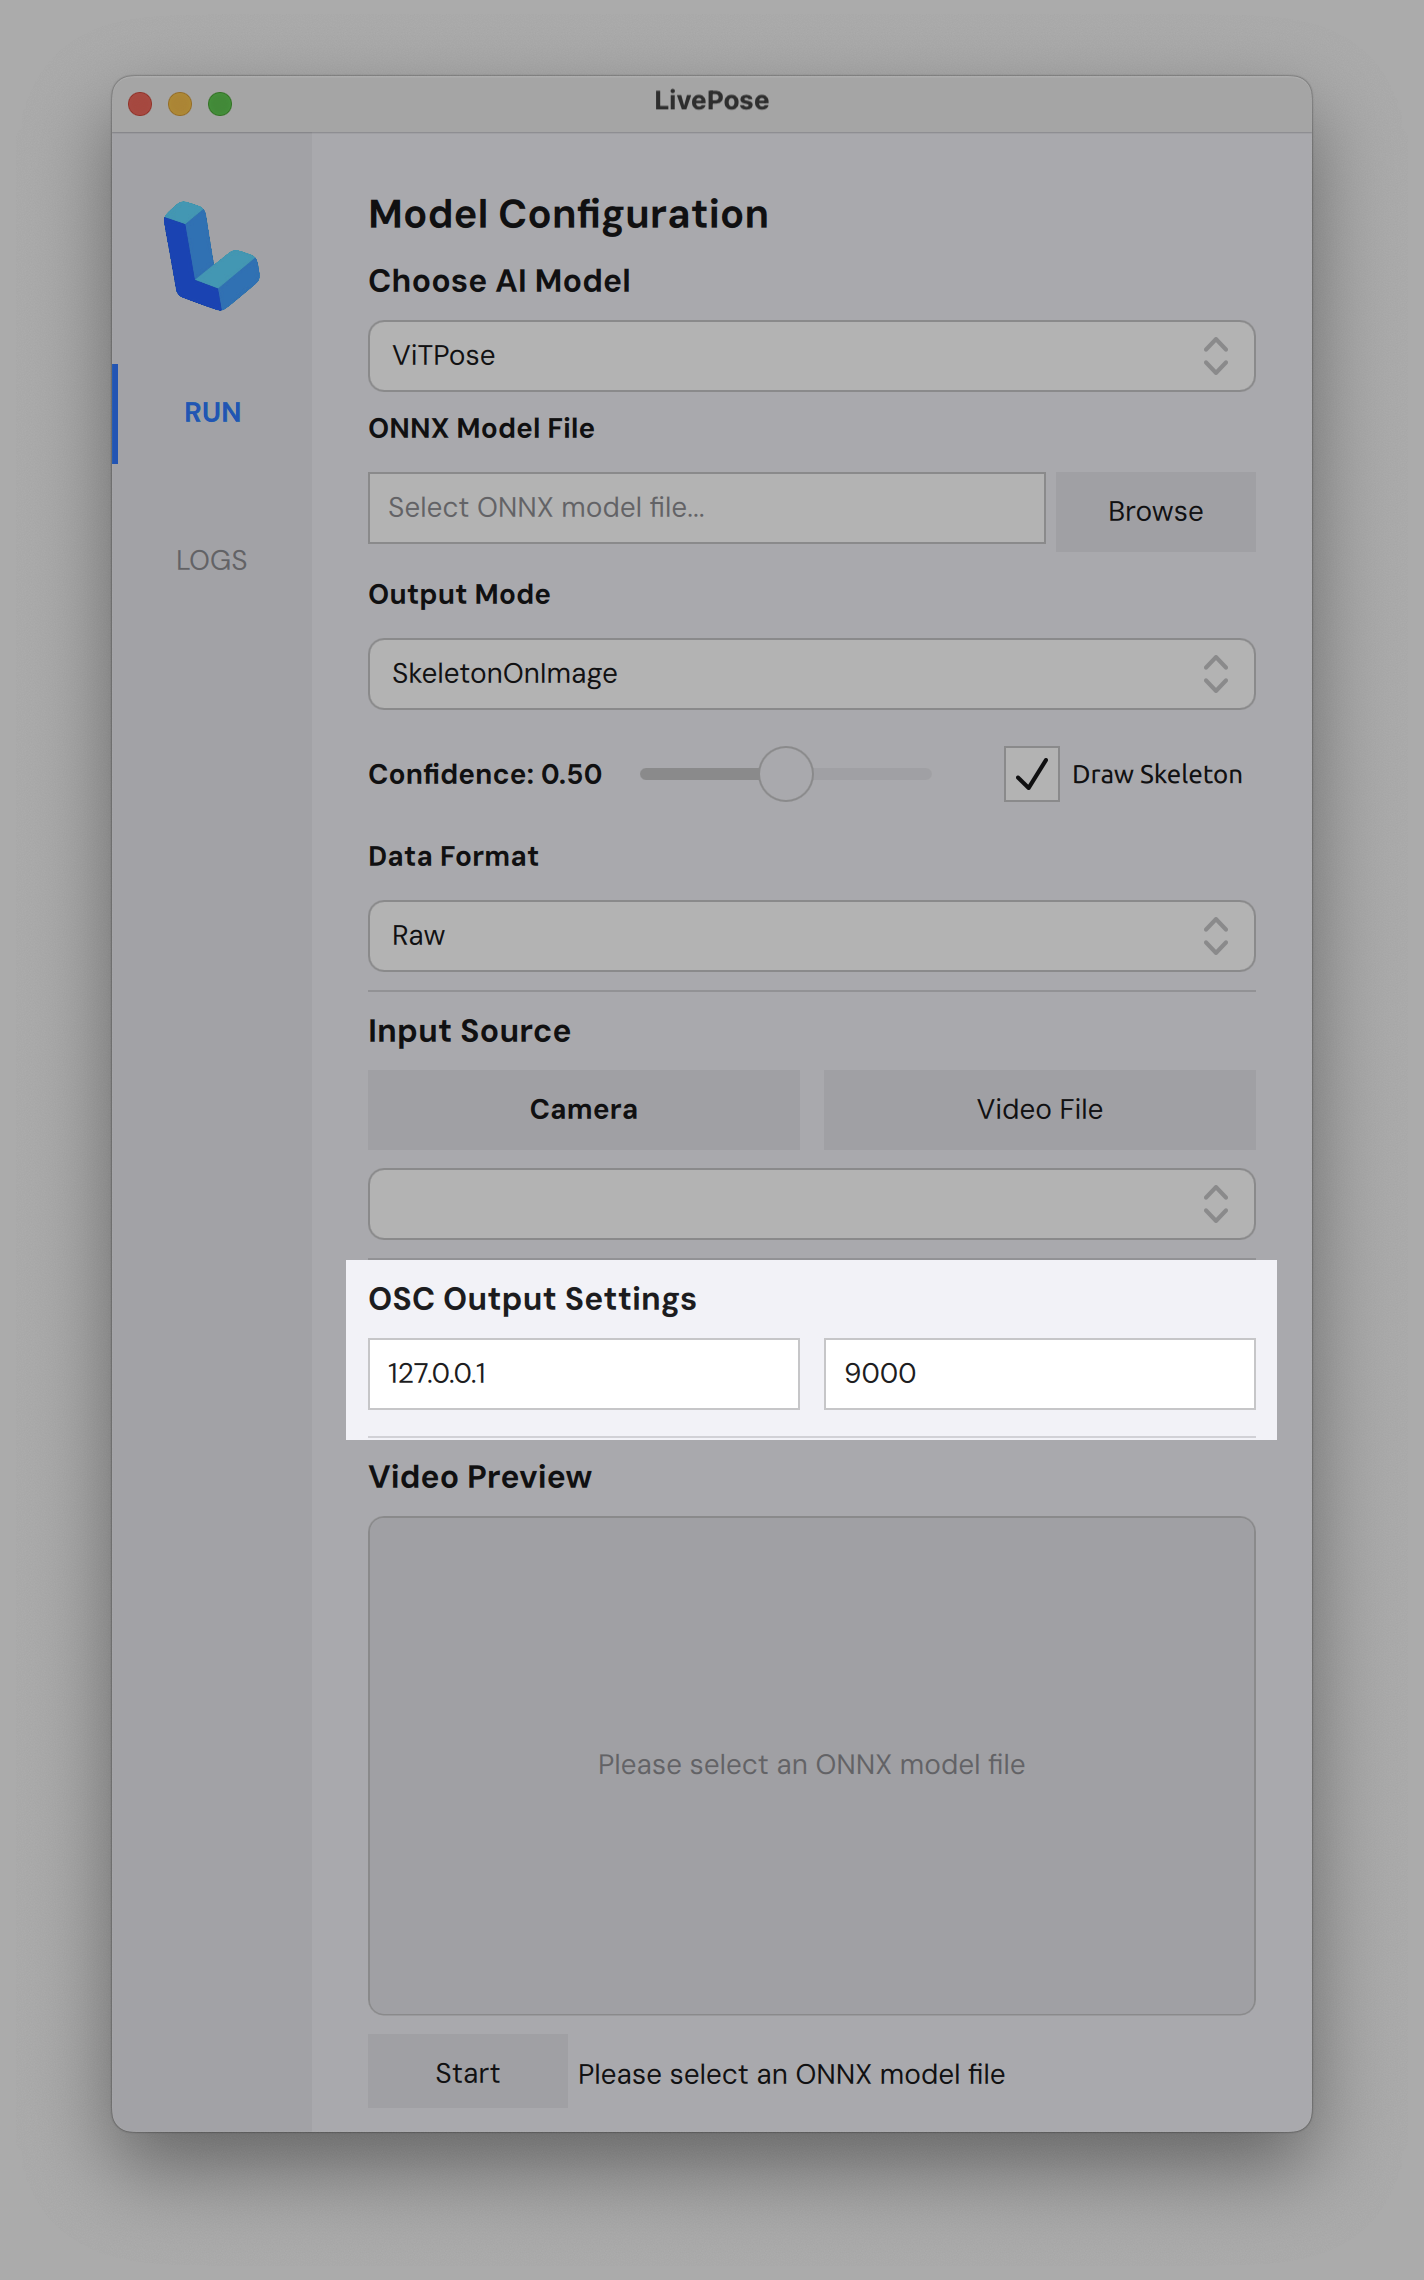
- Set the IP and port for your OSC destination (default:
127.0.0.1:9000) - Hit Start; pose data will be sent in real time
- Use
oscdumpin your terminal for debugging
Use cases
Connect to Pure Data, Max/MSP, Processing, p5.js, TouchDesigner, SuperCollider, openFrameworks, or any OSC-compatible software. Examples coming soon!